Preventing Razor Burn: The Shave Dad Guide
Razor burn does not have to be part of your shave. Almost every case of it traces back to one of three things: poor preparation, too much pressure, or rushing through the shave. The good news is that all three are fixable, and none of the fixes require new gear. The seven steps below are the routine the Shave Dad community has been writing about, talking about, and refining for years. Read them as a sequence, run them in order on your next shave, and your face will tell you the rest.
1. Prep your beard
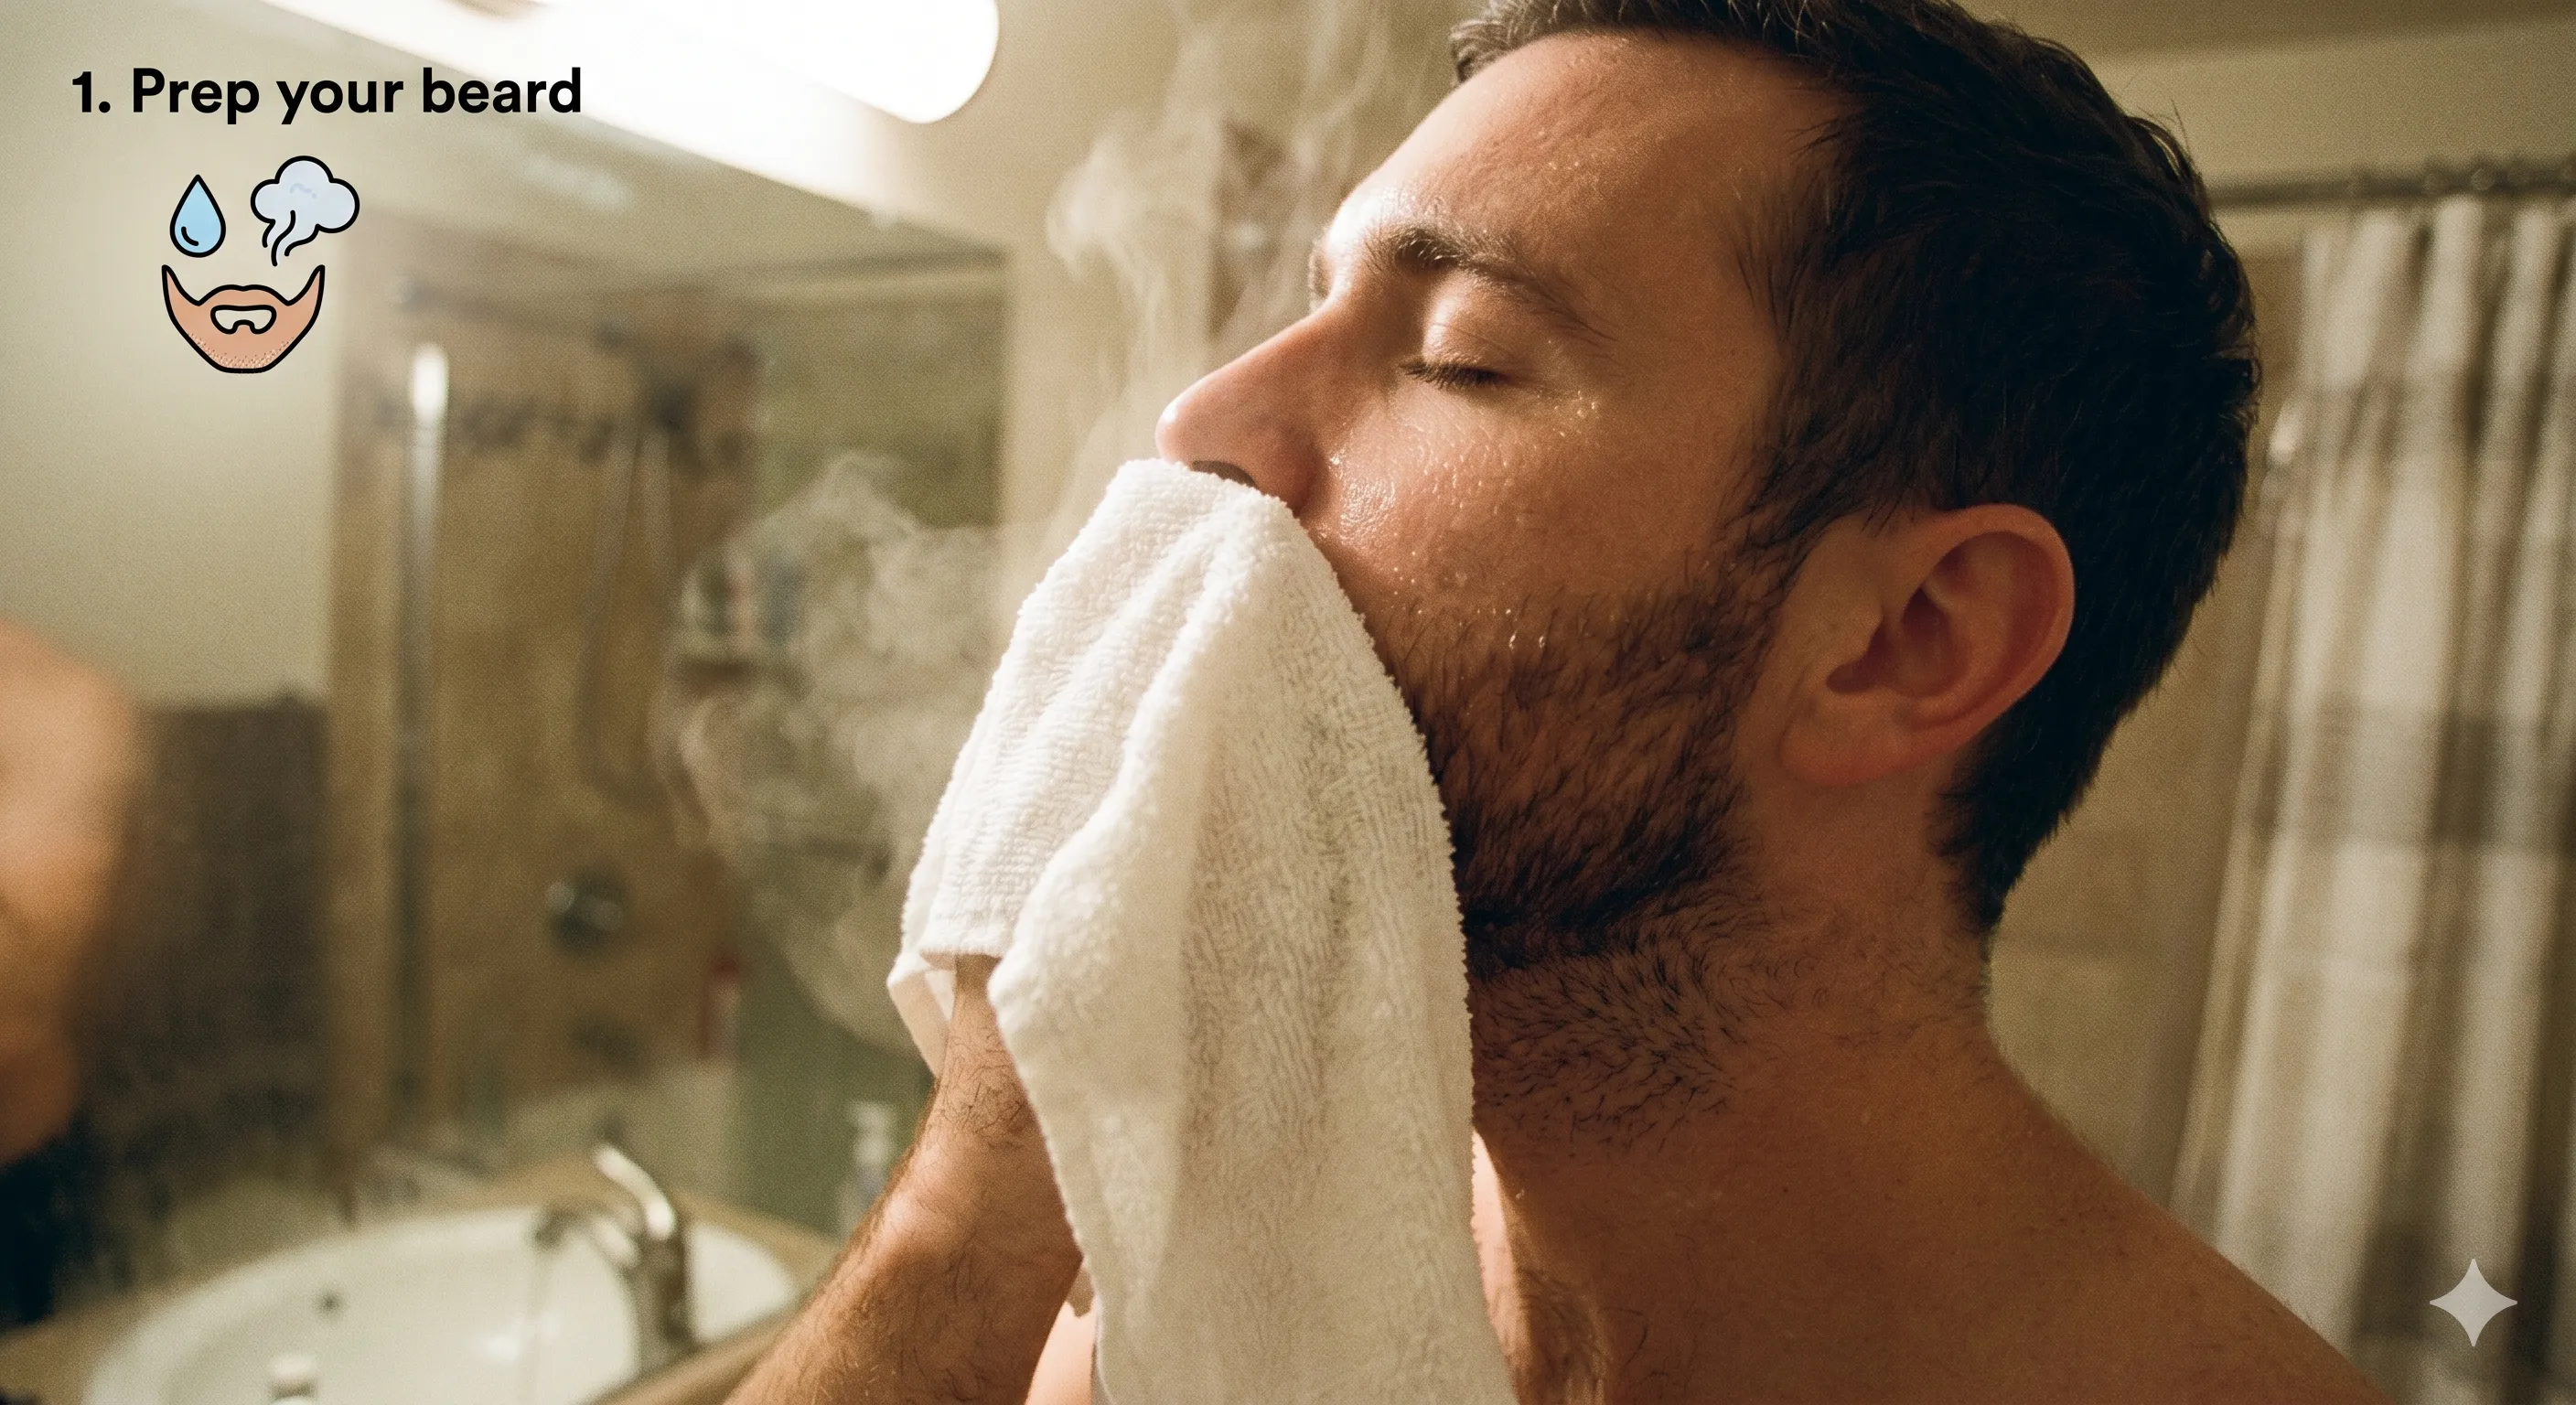
Soft whiskers cut at about half the force of dry ones. That single fact is the most important thing you can know about wet shaving. The blade does not care how sharp it is if the hair is dry; it tugs, irritates, and leaves micro-cuts that show up later as burn or bumps.
Wash your face with warm water and let your stubble hydrate for a few minutes before lathering. A hot shower right before the shave is the easiest version of this; a warm wet washcloth held against the face for thirty to sixty seconds is the next-easiest. Whichever you use, the goal is the same: stubble that is fully saturated, warm, and ready to cut without resistance.
2. Use a quality shaving soap
A real shaving soap creates a slick, protective layer between the blade and your skin. That layer is what lets the razor glide instead of drag, and the difference between a dry foam from a can and a properly built lather is genuinely night and day.
Build a rich, hydrated lather. Not a dry, pasty one. The lather should feel slick when you rub it between your fingertips, and it should hold its shape on the face without dissolving. If you are unsure whether your soap is performing, our lather-building guide walks the process step by step.
3. Let the razor do the work
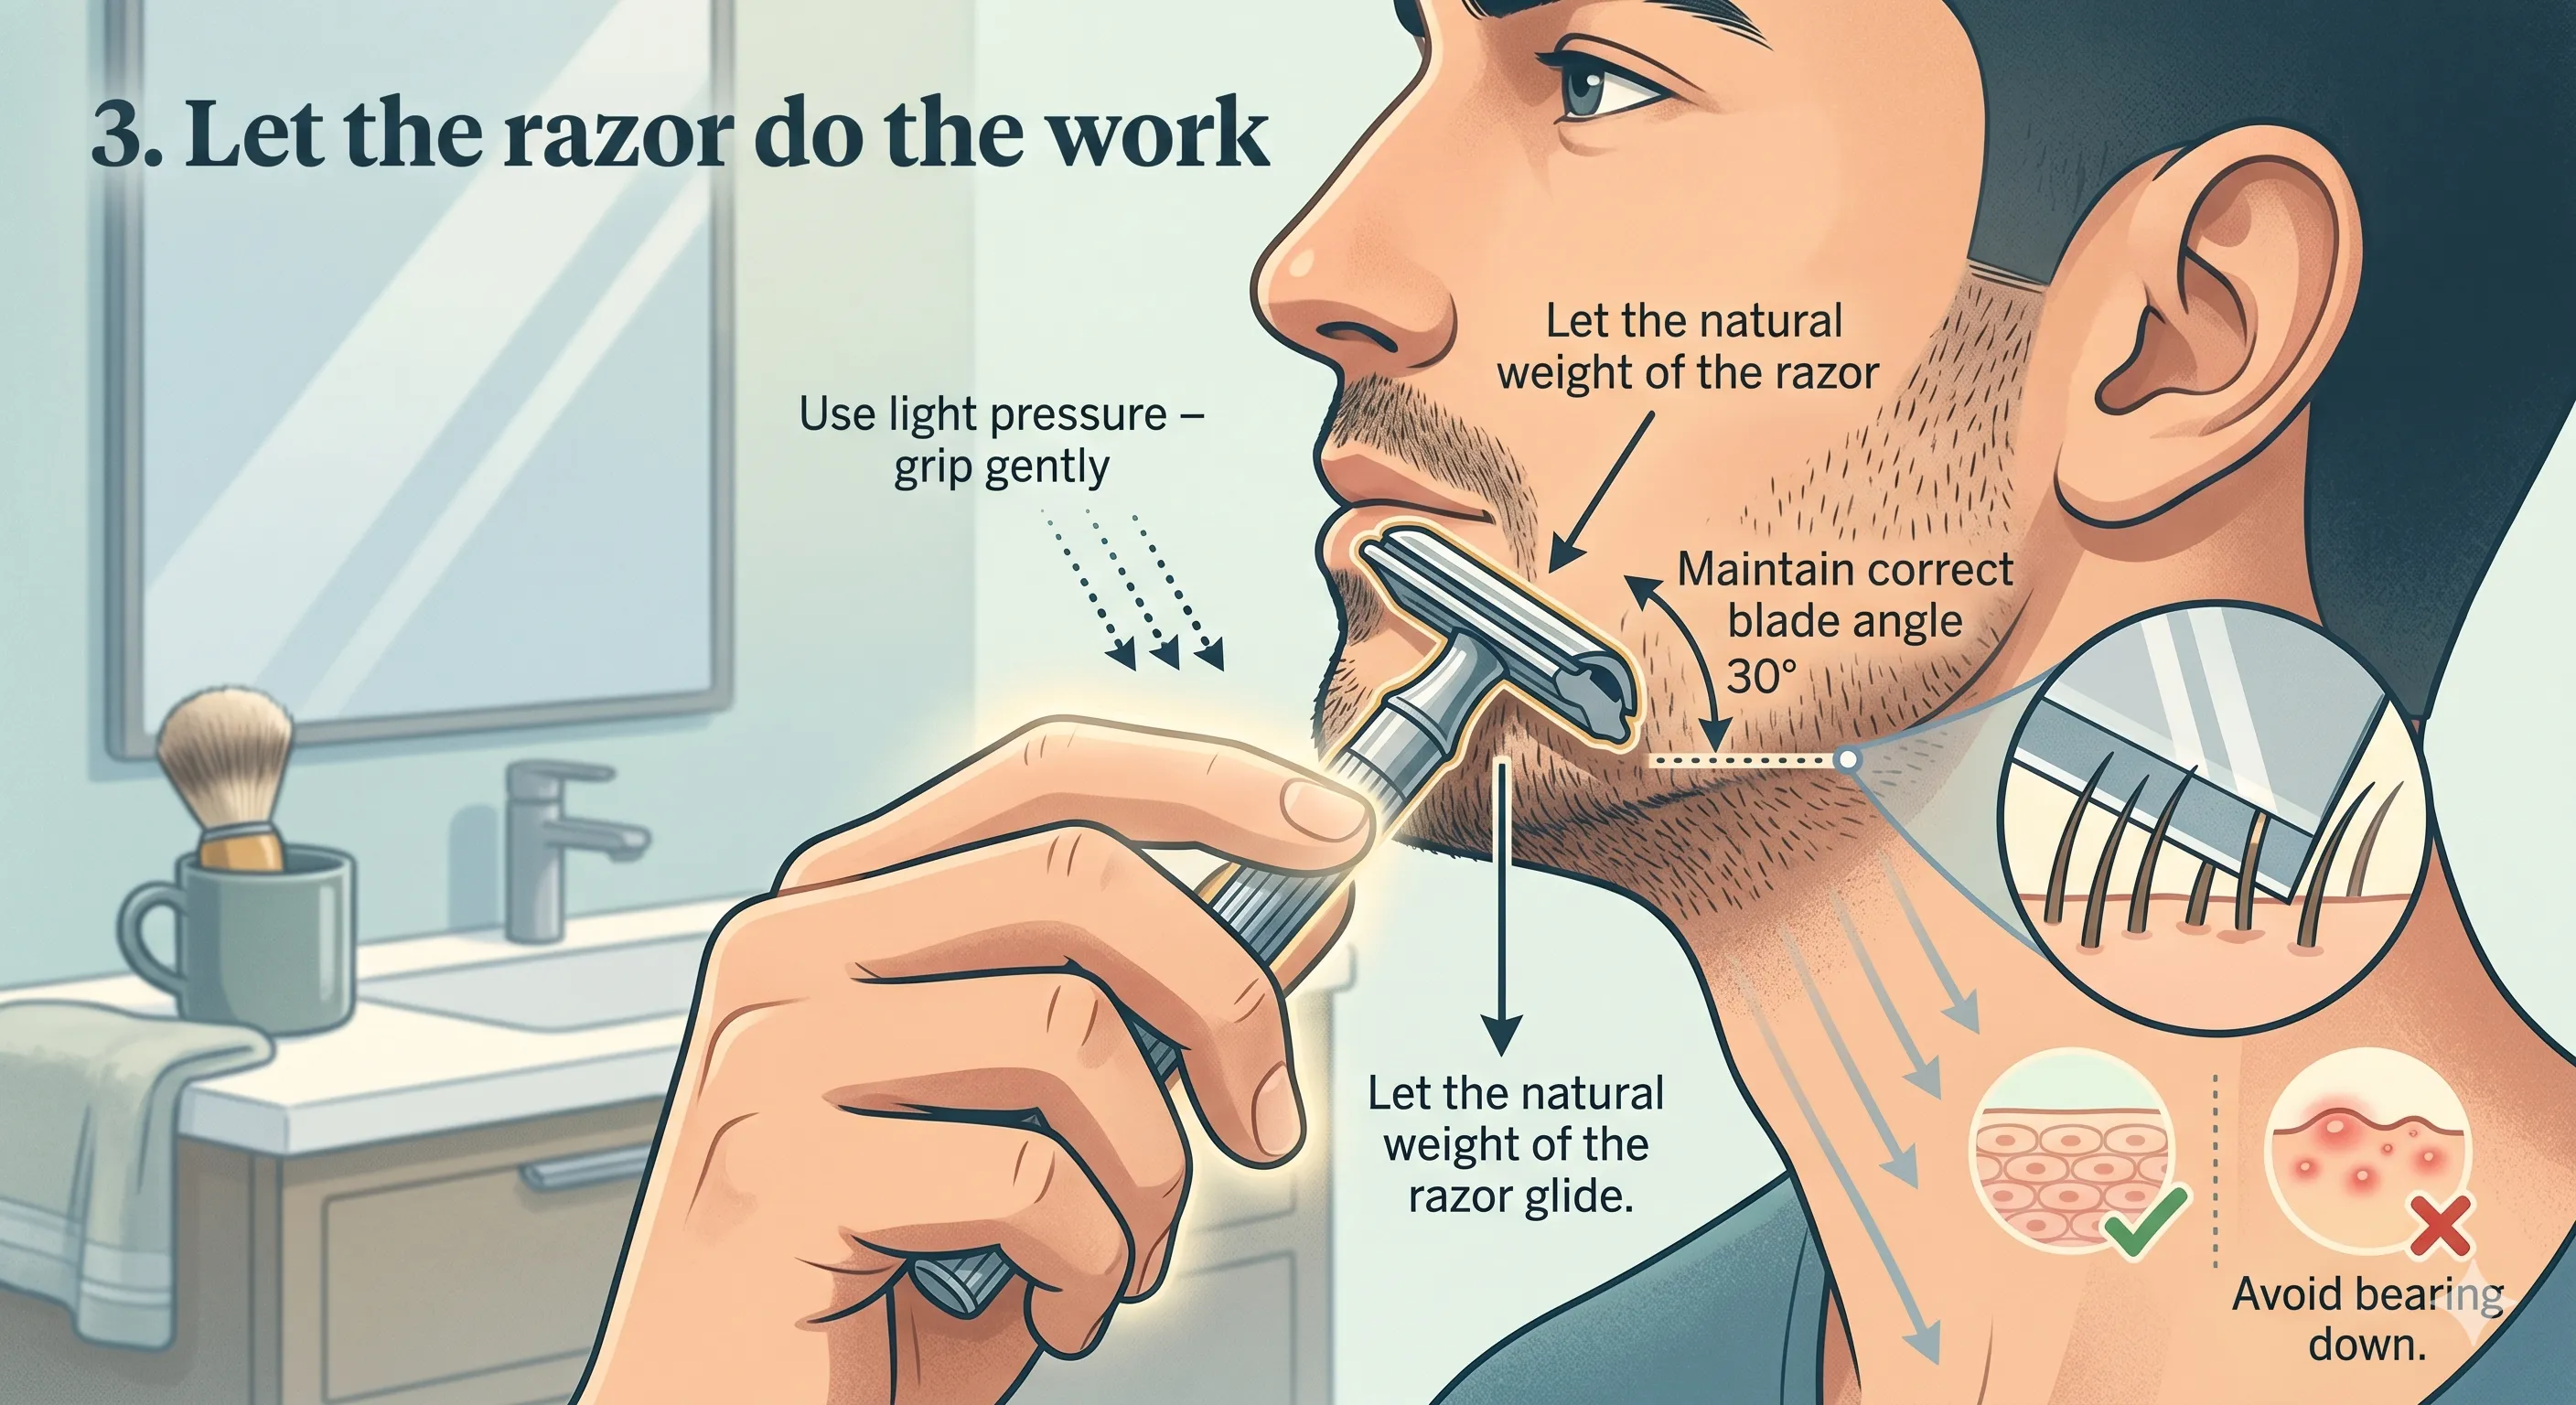
This is the single biggest mistake new wet shavers make. Coming from a cartridge habit, the instinct is to press the razor against the face. A cartridge razor is engineered around that pressure. A safety razor is not.
Whether you are using a safety razor, a straight razor, or even a cartridge, use a light touch. Let the weight of the head and the angle of the blade do the cutting. Pressing harder almost never gets you a closer shave; it gets you a more irritated one. If you find yourself bearing down to remove a stubborn patch, the answer is usually a fresh pass with more lather, not more force.
4. Shave with the grain first

Your beard grows in a specific direction on every part of your face, and that direction is not the same everywhere. Your neck might grow up while your jaw grows down. Your chin might grow sideways.
The first pass should follow the direction your hair grows. With the grain. This pass removes the bulk of the stubble with the least possible drag and the least possible irritation. Once that pass is done and you have re-lathered, you can pass across the grain (sideways) for a closer cut. Against the grain comes last, if at all, and only when your face has earned it. Going against the grain on a first pass is one of the most common causes of razor burn there is.
5. Keep your blade sharp
A dull blade is the enemy of every other step on this list. It tugs at whiskers instead of cutting them, which means more pressure, more drag, more skin trauma. You can prep perfectly, build a great lather, and use the gentlest touch, and a worn blade will still leave you irritated.
Most double-edge blades give you five to seven good shaves before they start to drag. Some last longer, some shorter, depending on your beard density and the specific blade. Pay attention to how the razor feels around shave number five. If you start noticing tug, swap the blade. The cost per blade is cents; the cost of a bad shave is a face you do not want to see in the mirror tomorrow.
If you are not sure which blades to keep on hand, our DE razor blade buyer’s guide covers the families worth knowing.
6. Don’t chase perfection
A comfortable shave is a better shave than an irritated one. Full stop.
If your skin runs sensitive, or if you are pushing toward the end of a long shave and you can feel your face starting to react, stop at a DFS (Damn Fine Shave) and save the BBS (Baby Butt Smooth) chase for another day. There is no medal for the closest possible shave. There is a real penalty for the closest possible shave when your face is not ready for it: a day or two of burn that affects every shave that follows.
This is the step new shavers internalize last and that experienced shavers swear by. The most consistently comfortable shavers in the community are not the ones with the most aggressive razors or the longest pass counts. They are the ones who know when to put the razor down.
7. Finish with cold water and aftershave
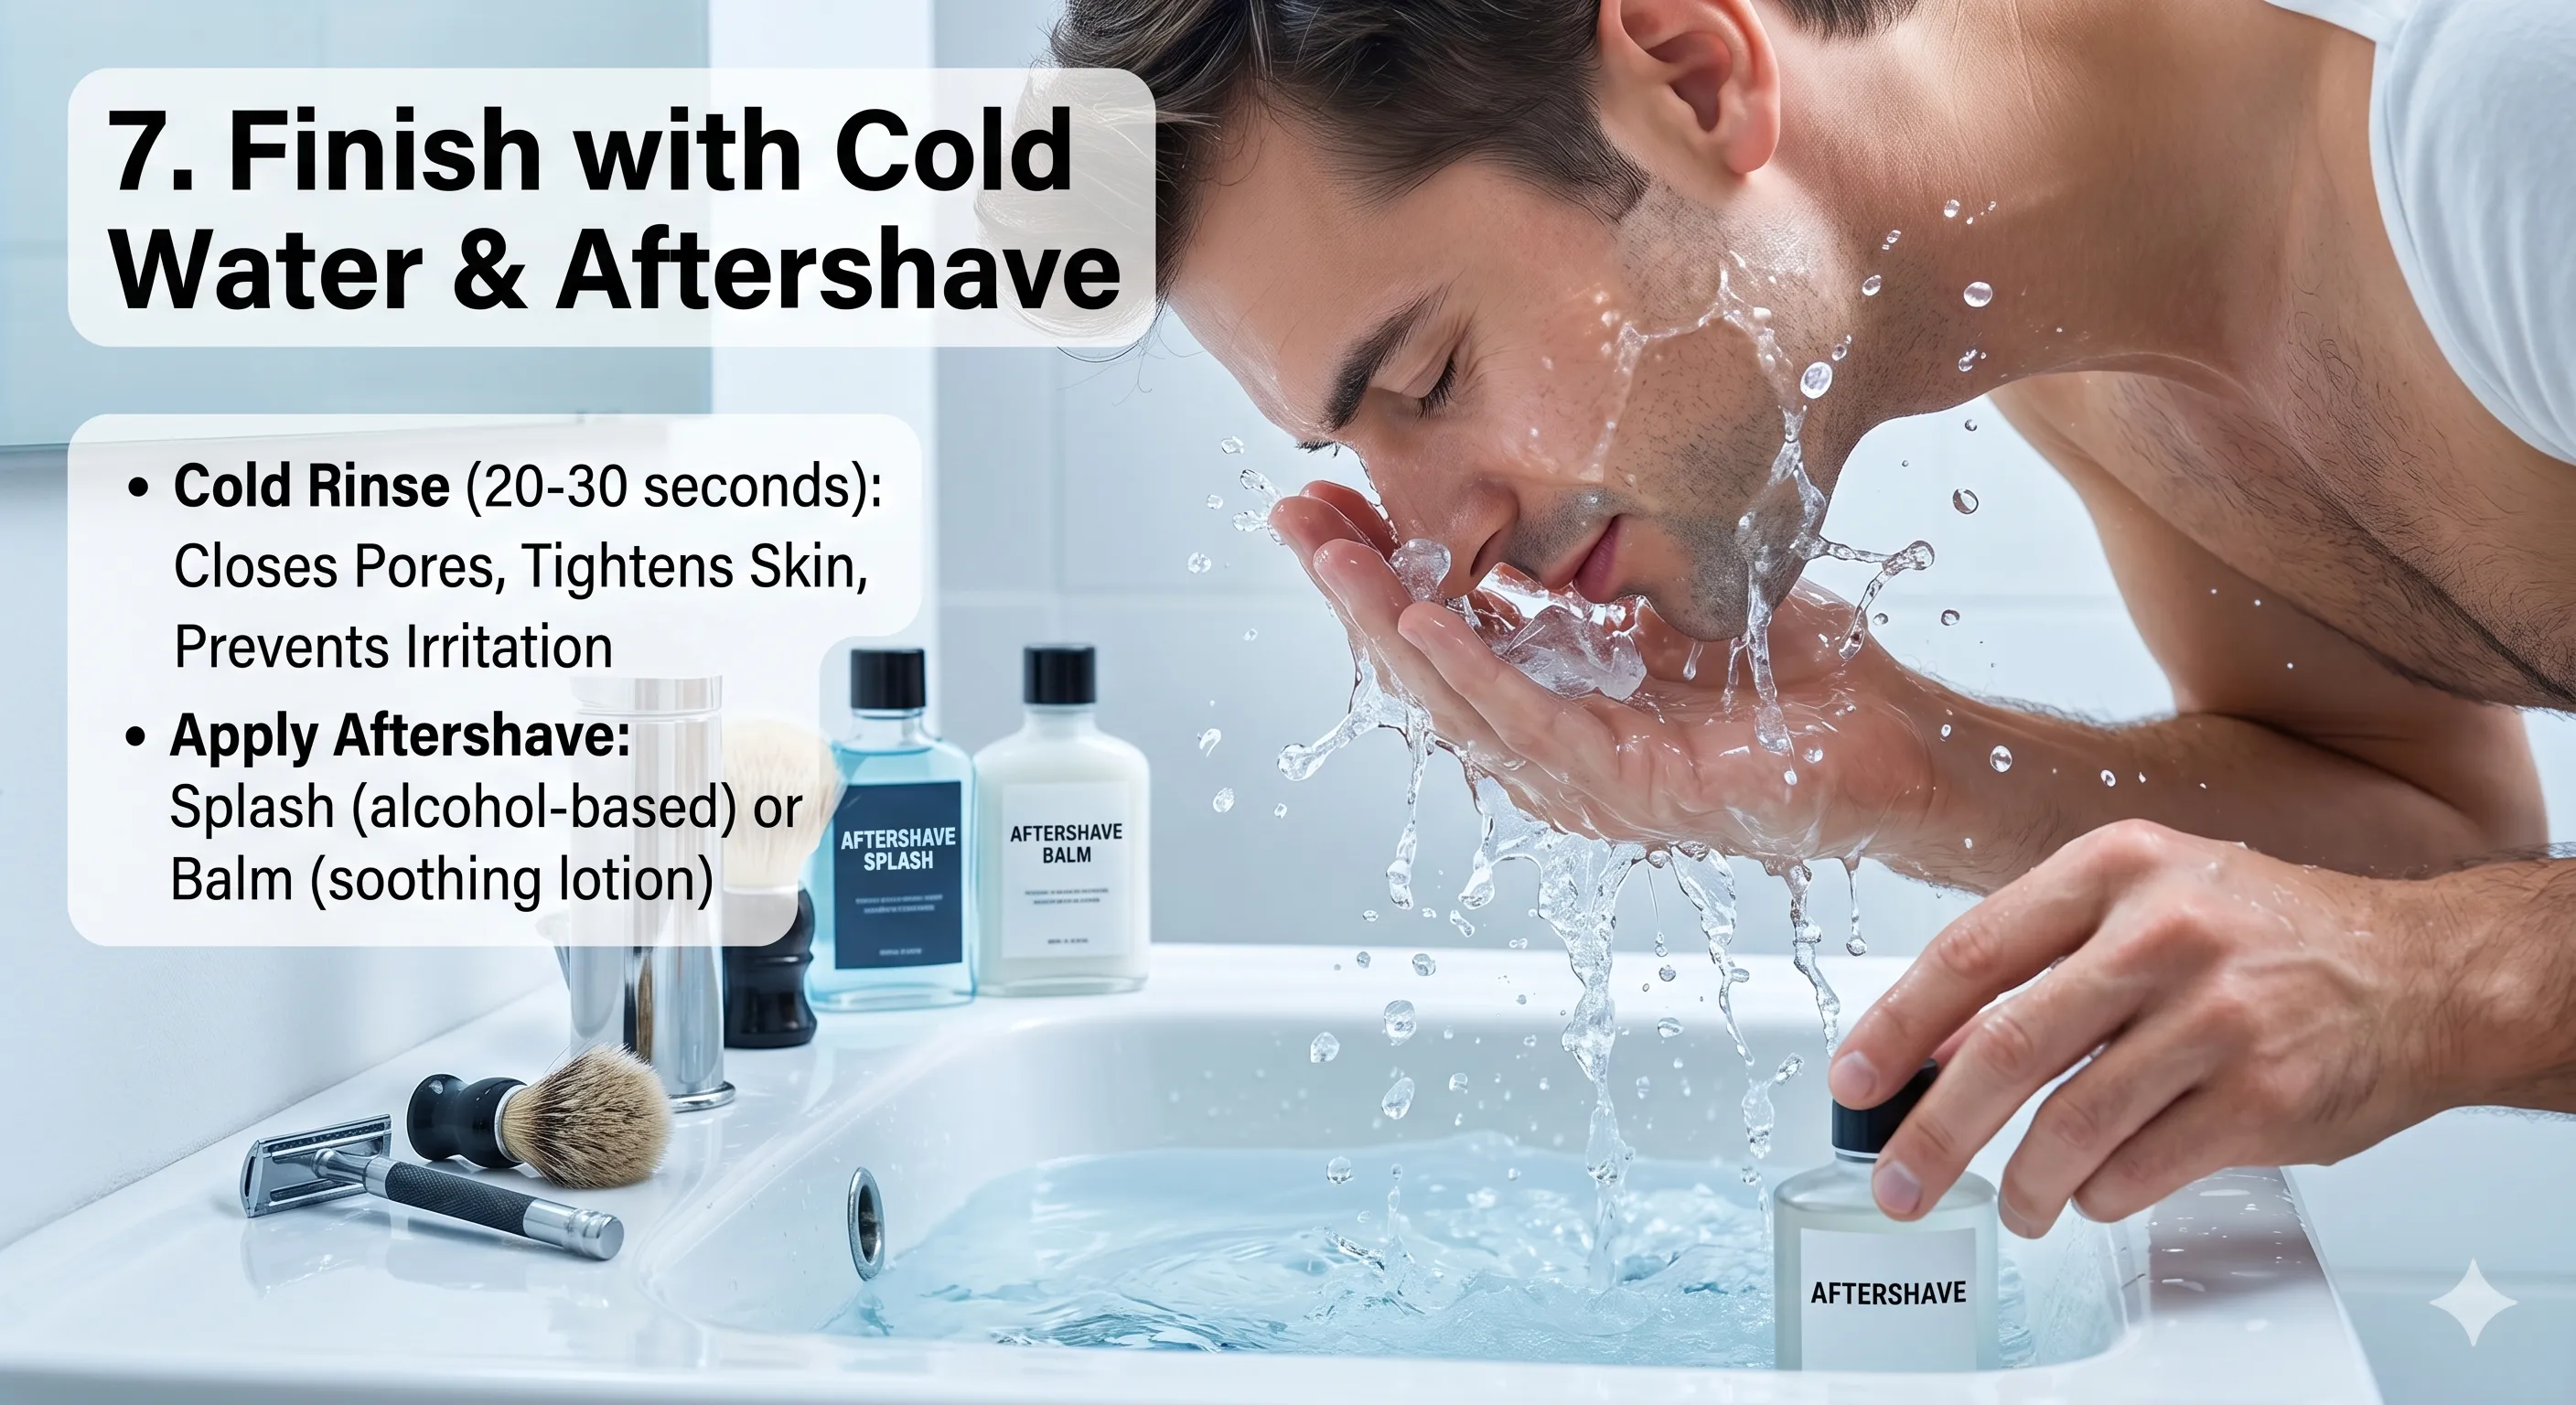
The cold rinse is the oldest barbershop trick in the book. Splash cold water on your face for twenty to thirty seconds at the end of the shave. The cold causes the surface blood vessels to constrict, which tightens the skin and calms the inflammation that builds up across two or three passes. Pores do not literally open and close (they have no muscles), but the tightened-skin effect is real, and it is the right reset before the next product touches your face.
Follow the rinse with an aftershave splash or balm. This is the step that actually handles the antiseptic and barrier-protection side of the post-shave routine. Splashes are alcohol-based and slightly astringent, which does double duty as a mild antiseptic on any micro-cuts you picked up; balms are lotion-based and soothing, focused on hydration and barrier repair. Both work. Which one you choose depends on your skin and the season. If you are still building out the aftershave shelf, our classic aftershave buyer’s guide walks the families worth knowing.
The formula, simply put
Preparation plus technique plus patience equals great shaves.
That is the formula. Every step above is one of those three things. Hot water and a good lather are preparation. With-the-grain passes and a light touch are technique. Stopping at DFS, swapping blades on time, and trusting the cold rinse are patience. Get all three working together and razor burn stops being part of your routine.
The quick checklist
Save this, tape it to your bathroom mirror, run through it on your next shave:
- Wash with warm water; let the stubble hydrate for a few minutes
- Build a slick, hydrated lather (not dry or pasty)
- Use a light touch; let the razor do the work
- First pass with the grain, every time
- Swap the blade when it starts to tug (usually shaves 5 to 7)
- Stop at DFS when your face is reacting; the BBS will be there next time
- Cold-water rinse, then aftershave splash or balm
Smooth shaves out there.
— Shave Dad