

How to Build the Perfect Shaving Lather: The Only Guide You Need
More new shavers give up over bad lather than over anything else, and it is not their fault. The advice is scattered across a dozen half-answers, half of it contradicts the other half, and nobody just tells you the one thing that actually matters. So here is the whole thing in one place. Get your lather right and everything downstream, the closeness, the comfort, the lack of irritation, gets dramatically easier, because a great lather is what lets the blade glide instead of drag. This is how to build one, every time.
What Good Lather Actually Is
First, throw out the picture in your head. Good shaving lather is nothing like the airy white foam that squirts out of a cartridge-shave can. That fluffy stuff is mostly air, and air does not protect your skin.
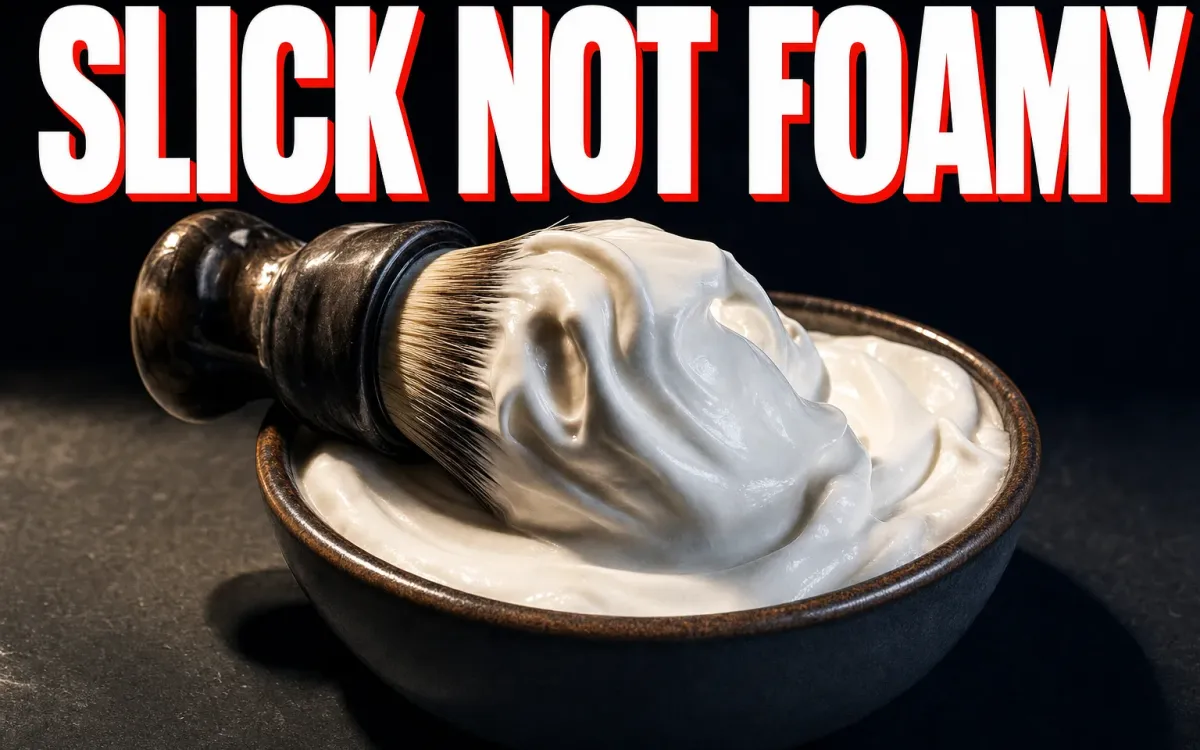
A proper lather is dense, smooth, and heavy, closer to the texture of glossy yogurt or melted ice cream than to foam. It has two jobs, and both come from that density. The first is cushion, a protective layer between the blade and your skin. The second, and the more important one, is slickness, the glide that lets the edge slide across your face instead of catching. When shavers talk about a lather being “good,” they mean it is slick and cushioning and it stays that way through the whole pass. Big visible bubbles are a sign of a lather that is too airy and not yet there.
The One Variable That Matters Most: Water
If you remember nothing else, remember this: almost every bad lather is too dry, and the fix is water, added slowly. Water is the single most important and most misunderstood part of lathering.
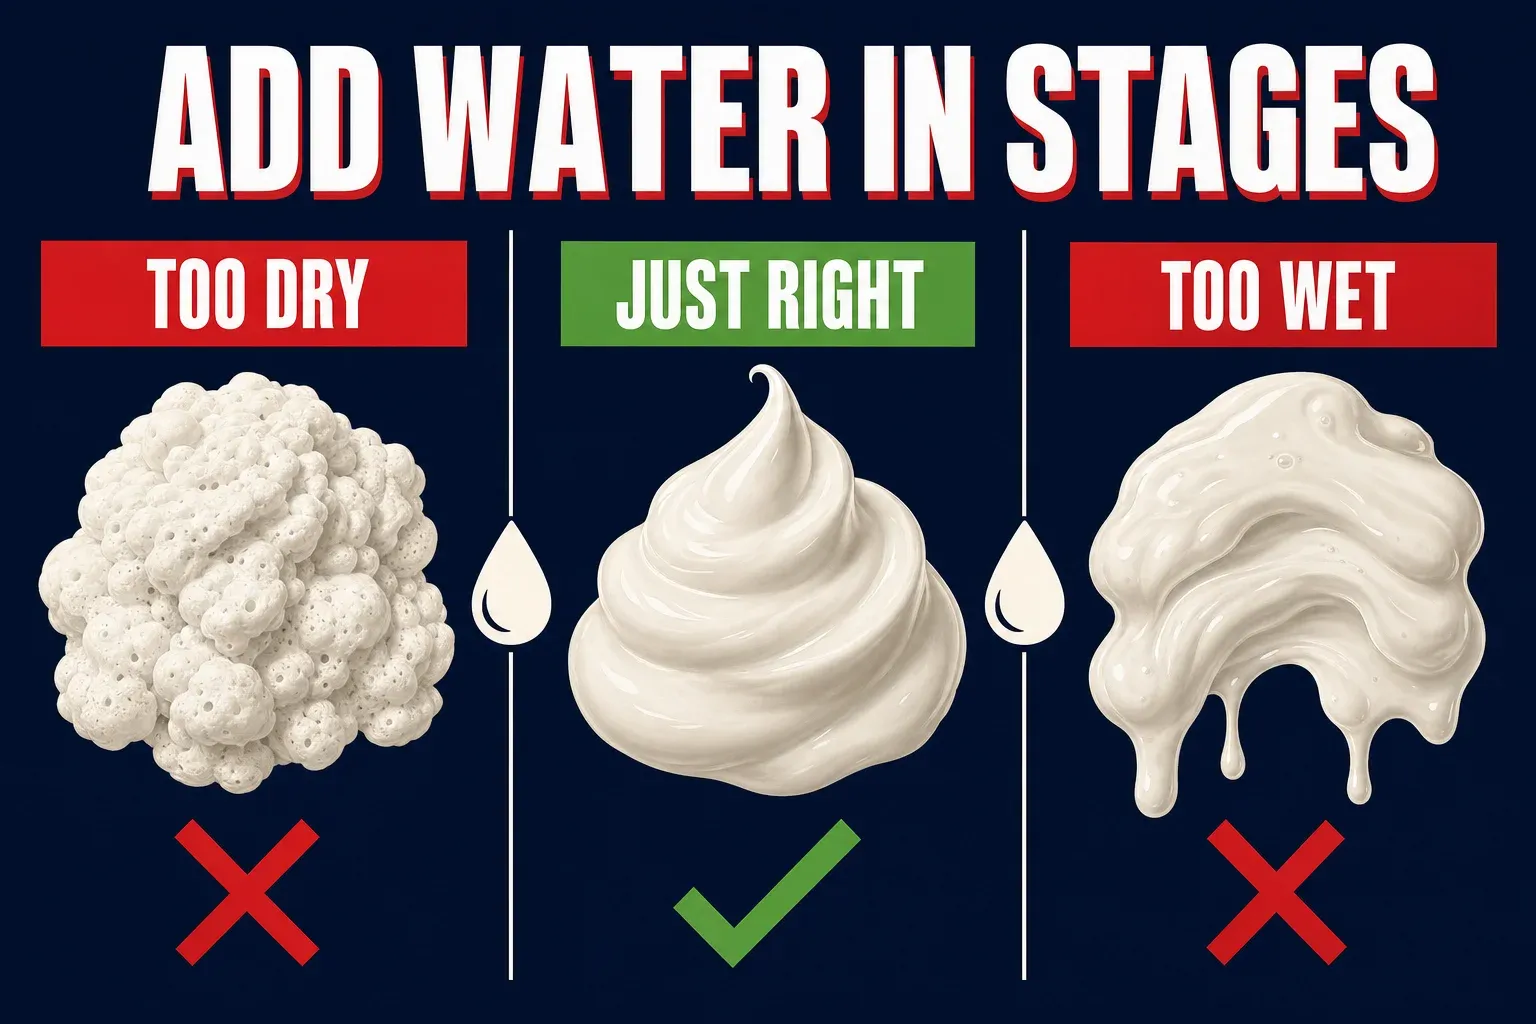
New shavers almost always underwater their lather, produce a stiff, bubbly, disappointing foam, and conclude their soap is bad. The soap is fine. It is thirsty. The move is to build your lather in stages, adding small amounts of water a little at a time and working it in, watching the lather transform from a thick paste into a rich, glossy cream. You are looking for the point where it turns slick and shiny and the bubbles disappear into a smooth sheen. Add too much at once and you will overshoot into soup, so go in driblets, not splashes. The mantra that saves more beginners than any other: when the lather is not right, add water, not more soap.
Step 1: Load the Brush
Everything starts with getting enough soap onto the brush, and under-loading is the second most common beginner mistake after under-watering.
Begin by soaking your brush in warm water for a minute or two while your face preps, then give it a gentle shake so it is damp, not dripping. Now load. If you are working from a hard soap or a croap, hold the brush to the surface and swirl it in firm little circles for twenty to thirty seconds, longer than feels necessary, until the brush is packed with a thick, paste-like proto-lather. If you are using a soft cream, you need far less; a small almond-sized scoop into the brush or bowl is plenty. Soaps are thirstier and need more loading than creams, which is the main practical difference between the two at the sink.
Step 2: Build and Add Water in Stages
Now turn that loaded paste into lather by working it and feeding it water. Whether you do this in a bowl or on your face, the motion is the same: work the brush in circles and back-and-forth to whip air and water through the soap, pause, add a few drops of warm water, and work it again. Repeat, adding water in small increments, until the lather goes from thick and dull to smooth, glossy, and slick, with a texture that holds soft peaks but wipes off your finger clean and shiny rather than bubbly. When it looks like glossy meringue and feels slick between two fingers, it is ready. This whole process takes a minute or two and gets faster as your hands learn it.
Bowl vs Face vs Hand Lathering
There is no single correct place to build lather. Each method has a moment.
Bowl lathering, working the lather in a dedicated bowl or scuttle, gives you the most control and makes the water-in-stages process easy to see, which is why it is the friendliest way to learn. A bowl like the Stirling Lather Bowl or the Edwin Jagger Lathering Bowl is an inexpensive, genuinely useful training aid.
Face lathering builds the lather directly on your face with the brush, and it is where a great many experienced shavers end up, because it is faster, it works the soap into the beard and lightly exfoliates as you go, and it needs no extra gear. It is a little harder to judge water at first, which is why starting in a bowl and graduating to the face is a common and sensible path.
Hand lathering, palm-building the lather, is a quick middle option some shavers like, but it is the least common and easiest to skip. Start in a bowl, move to your face when your lather is dependable, and do not worry about the rest.
Reading Your Lather
Learning to read what your lather is telling you is the whole skill, and it comes down to recognizing three states.
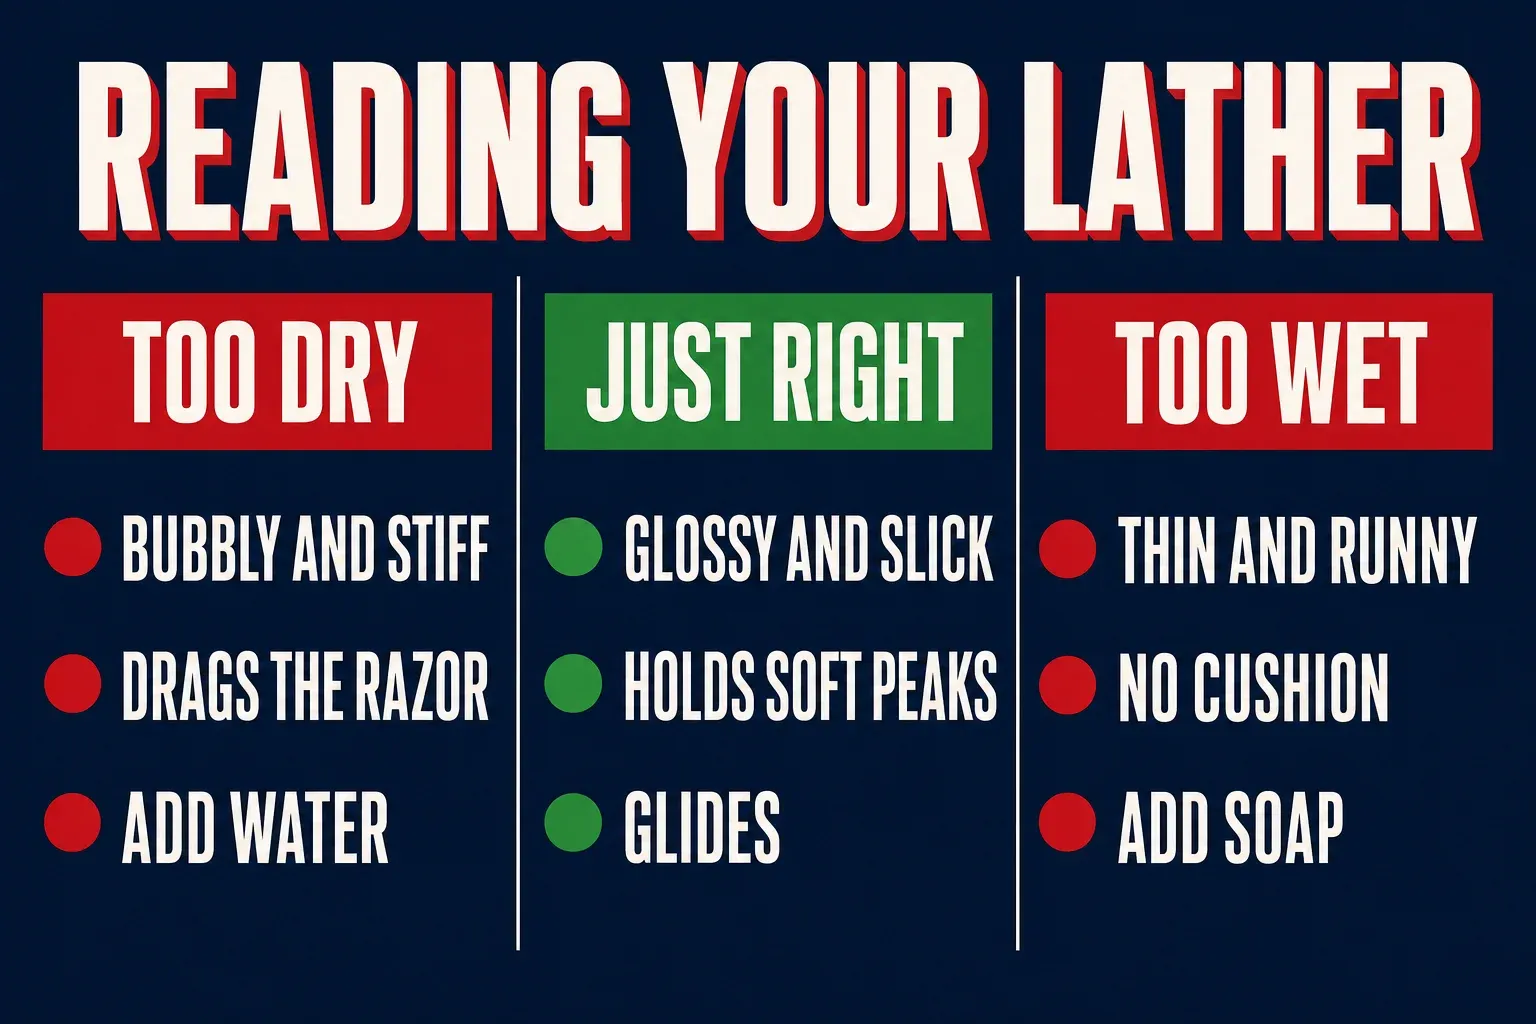
Too dry lather looks bubbly and stiff, feels tight rather than slick, and often squeaks or drags the razor; the fix is more water, worked in a little at a time. Too wet lather looks thin and runny, slides off the brush, and gives no cushion because you drowned it; the fix is a touch more soap loaded in to rebuild the body. And just-right lather is smooth and glossy with a faint sheen, holds soft peaks without big bubbles, spreads in a slick even coat that does not vanish as you shave, and feels genuinely slippery between your fingers. Once you have felt a great lather a few times, your hands recognize all three instantly.
Troubleshooting Common Lather Problems
A few specific failures and their fixes. If your lather is full of big airy bubbles, it is usually too dry or you stopped working it too soon, so add water and keep whipping until the bubbles refine away. If your lather vanishes partway through a pass, you did not load enough soap onto the brush; load longer next time. If the lather looks fine but the razor still drags, it is often a hair too dry, so a few more drops of water and a few more seconds of working will add the slickness. And if it is thin with no protective body, you overwatered, so load a little more soap into what you have and rebuild. Almost every lather problem is one of these four, and almost all of them are solved by adjusting water and load.
Gear That Helps
You do not need much, but the right tools make it easier. A decent brush does most of the work, whether that is a boar like the Omega Pro 48 that breaks in beautifully over a few weeks, a soft badger like the Edwin Jagger Best Badger, or a no-break-in synthetic like the Stirling Synthetic or the in-house TWSS Black G5. Any of them will build excellent lather; the choice is about feel and budget. A soap or croap that loads easily helps a beginner enormously, and forgiving, easy-lathering options like the Proraso Green or the ultra-slick Cella Crema da Barba are kind to learn on. Add a lather bowl if you want the extra control while learning, and you have everything you need.
The Bottom Line
Building a great lather is not a mystery, it is a skill with one dominant variable. Soak and load your brush with enough soap, then build the lather while adding water in small stages until it turns slick, glossy, and dense, thick enough to hold soft peaks and slippery enough to glide. Learn to read the three states, dry, wet, and right, and fix them by adjusting water and load. Start in a bowl, move to your face when you are ready, and give it a week or two of practice. Once your lather is dependable, you will realize it was quietly behind every good shave you have, and every bad one you used to blame on something else.
Frequently asked questions
What should good shaving lather look like?
Dense, smooth and heavy, closer to glossy yogurt or melted ice cream than to foam. It should hold soft peaks without big visible bubbles, spread in a slick even coat, and feel genuinely slippery between two fingers. The airy white foam that comes out of a can is mostly air, and air does not protect skin.
Why is my shaving lather bubbly and thin?
Almost every bad lather is too dry. Big airy bubbles mean either not enough water or that you stopped working it too soon. Add water in small driblets rather than splashes and keep whipping until the bubbles refine away. The mantra that saves the most beginners is that when the lather is not right, you add water, not more soap.
How long should I load the brush on the soap?
On a hard soap or croap, swirl a damp brush in firm little circles for twenty to thirty seconds, which is longer than feels necessary, until the brush is packed with a thick paste-like proto-lather. A soft cream needs far less, about an almond-sized scoop. Under-loading is the second most common beginner mistake after under-watering.
Should I lather in a bowl or on my face?
Start in a bowl. It gives the most control and makes the add-water-in-stages process easy to see, which is why it is the friendliest way to learn. Face lathering is faster, works the soap into the beard and lightly exfoliates, and is where many experienced shavers end up. Moving from bowl to face once your lather is dependable is the sensible path.
My lather disappears partway through a pass. What went wrong?
You did not load enough soap onto the brush. Load longer next time. If instead the lather looks fine but the razor still drags, it is usually a hair too dry, so a few more drops of water and a few more seconds of working will add the slickness.
Happy shaving.