

How to Shave Around Moles and Scars Without Drawing Blood
Shaving tutorials are written for flat faces, and almost nobody has one. A raised mole on the jawline, a scar ridge through the chin, a skin tag at the collar line: real terrain, on real faces, that turns a routine pass into a small navigation problem. Nick a mole once and you will remember it; they bleed enthusiastically and take their time stopping.
The good news is that this is a solved problem. Barbers have shaved around worse for two centuries, and the technique reduces to four moves: know the map, flatten the terrain, guard what will not flatten, and be honest about the spots that belong to a different tool.
First, One Honest Paragraph
A mole that a razor keeps catching is worth a dermatologist’s opinion on its own merits, entirely apart from shaving: repeated trauma to the same spot is worth avoiding, and any mole that changes size, shape, or color deserves professional eyes regardless of your grooming routine. Nothing in this post is medical advice; it is technique for safely negotiating skin features a professional has told you are fine. With that said: technique.
Know the Map
You already shave a face you cannot fully see while you shave it, which is why the first step is deliberate: with a clean face and good light, run a fingertip over your trouble spots and learn exactly where they sit relative to your strokes. The same fifteen-minute exercise behind grain mapping applies here, with one addition: note which features are raised enough to catch a blade and which are flat discolorations that need no accommodation at all. Flat moles, old flat scars, and birthmarks are cosmetic, not topographic; the razor does not know they are there. Only raised features need a plan.
Scars bring one extra wrinkle: hair usually does not grow on scar tissue itself, but the grain around a scar often swirls, because the injury rearranged the skin. Map the perimeter, not the scar.
Flatten What Flattens
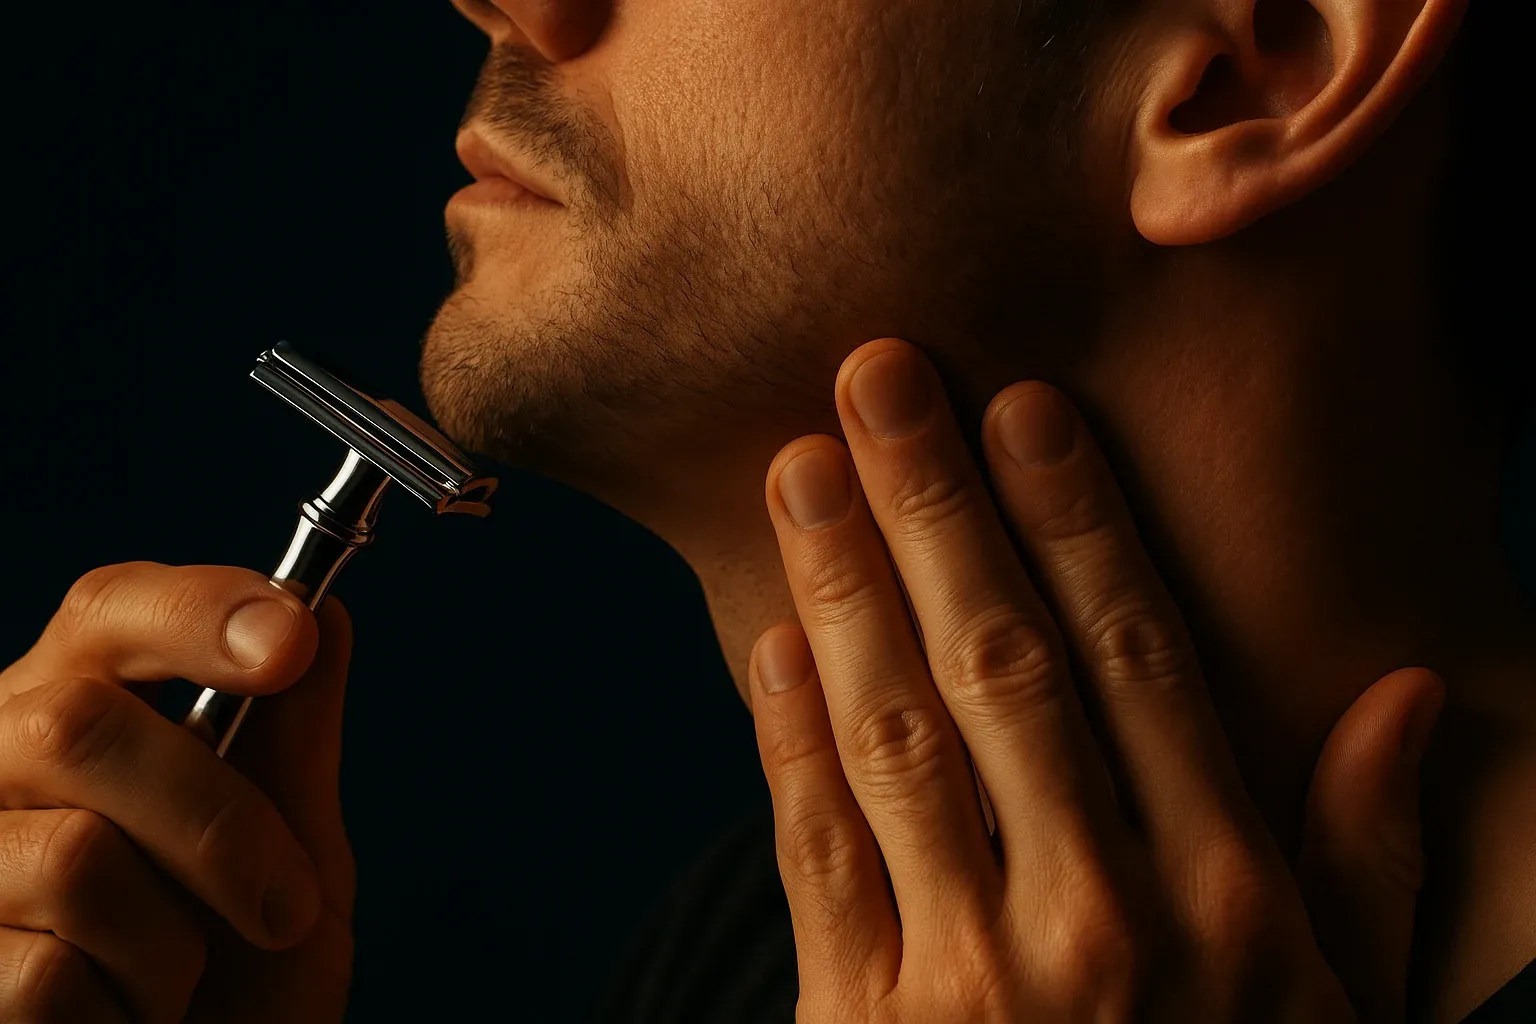
The skin stretch is the whole secret to scar ridges. Scar tissue sits proud because the skin around it is lax; pull the surrounding skin taut with two fingers and most ridges lie down nearly flush, letting the blade pass over rather than into them. Stretch perpendicular to your stroke, keep the pressure feather-light, and use short, controlled strokes through the zone rather than one long confident one. Confidence is for cheeks.
Small raised moles respond to a different stretch: pulling the skin to one side moves the mole out of the stroke lane entirely, so the blade passes beside it. Shave up to the feature from each direction rather than across it, the way you would mow around a tree rather than through it.
Guard What Will Not Flatten
For moles too raised to move aside, use the barber’s finger guard: lay a fingertip flat over the mole and shave up to your own finger. The finger takes the blade’s path instead of the mole, and nothing about it requires skill beyond the willingness to look slightly silly in the mirror. Between passes, keep your lather thin over trouble spots; a thick blanket of foam is how features disappear and get found the hard way. This is one of the few arguments for a translucent lather layer, and for the visibility that face lathering gives you over bowl-piled foam.
Mild razors earn their keep here too. A large blade gap and positive exposure turn every ridge crossing into a gamble; something on the gentle end of the aggressiveness spectrum, or an adjustable dialed down for the trouble zones, keeps the margin on your side.
The Hybrid Answer
Some features should simply not meet a blade: large raised moles, skin tags, fresh scars still pink and remodeling. For those, the honest answer is a hybrid routine, razor for the open country, a small electric trimmer for the two square centimeters that need it. The stubble difference is invisible at conversation distance, and trading a weekly blood spot for it is a bargain. Fresh surgical scars deserve patience on top: skin keeps remodeling for months, sensitivity fades slowly, and the area around a new scar often does better with a trimmer until everything settles. Your surgeon’s guidance beats any blog on timelines.
If your skin is generally reactive on top of the terrain issues, the sensitive skin guide and the troubleshooting hub round out the toolkit.
Frequently asked questions
How do you shave around a raised mole?
Either stretch the surrounding skin sideways so the mole moves out of the stroke lane and shave beside it, or lay a fingertip flat over the mole and shave up to your finger, the classic barber guard. Shave toward the feature from each direction rather than across it, with light pressure and short strokes.
What happens if you nick a mole while shaving?
Moles are well supplied with blood, so they bleed more and longer than ordinary nicks. Apply pressure with clean tissue and use a styptic pencil. A mole that gets caught repeatedly, or one that changes size, shape, or color, should be seen by a dermatologist.
Can you shave over a scar?
Old, flat, fully healed scars generally need no special treatment, though hair regrowth around them may swirl in new directions worth mapping. Raised scar ridges should be stretched flat with two fingers before the blade crosses them. Fresh scars still pink and healing are better served by a trimmer until the tissue settles.
Should you use a mild or aggressive razor around moles and scars?
Mild. Less blade gap and neutral-to-negative exposure mean every ridge crossing has margin for error. An adjustable razor works well: dial it down through trouble terrain and back up on open cheek.
Is it OK to just trim over a mole instead of shaving it?
Yes, and for large raised moles and skin tags it is the smart play. A small trimmer over the feature leaves stubble invisible at normal distance and removes the weekly risk entirely. A hybrid razor-plus-trimmer routine is common among experienced shavers with challenging terrain.
Happy shaving.